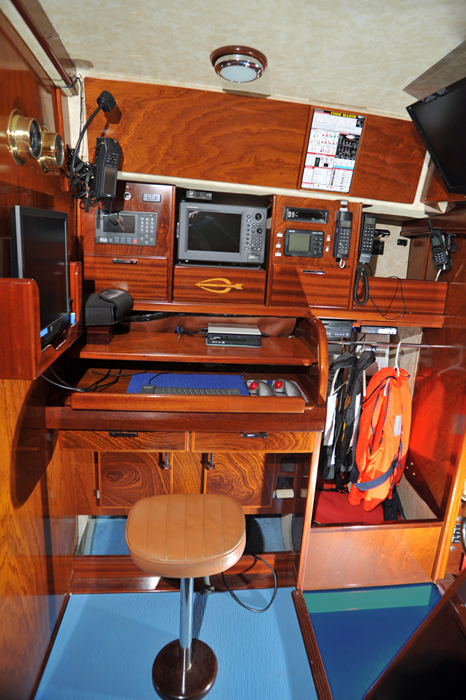
Navigation Station
I apologize upfront for the nerdy update. You non-nerdy types may want to just skip this one.
(click any picture to enlarge and start a slide show)
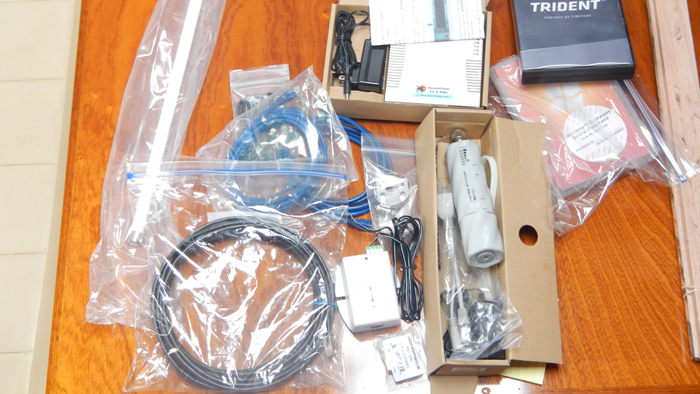
As a follow up to my post regarding installing new stuff, the past few days have been spent sorting through a muddle of wires aboard Cream Puff. When we purchased a used boat, we knew the previous owner had installed certain things “his way”. We were extremely fortunate he owned a label maker and wasn’t afraid of using it. I cannot begin to say how thankful I am he took the time to label everything ~ and I mean everything. We successfully installed our new ships computer and our Wi-Fi booster antenna.
The ships computer is all solid state (no moving parts in the hard drive) and was custom made for us by Bob Stewart, owner of Island Time PC. Bob is a former cruiser and understands the eccentricities of computers aboard boats. For example, our computer runs off our 24v ships battery bank, has low power consumption and generates almost no heat. It will run upside-down (not that we intend to use it that way – or at least I hope we don’t) but most of all it’ll tolerate the harsh marine environment. The Wi-Fi booster antenna allows us to pick up low strength signals and make something out of nothing with them. This is especially useful in an anchorage or marina where the Wi-Fi signal is intermittent or weak. The router he included takes the boosted signal and allows us to have our own wireless network aboard the boat. Bob does a first rate job of taking something complicated and making it very simple. He packed up everything we needed and also included in his instructions a picture of how to connect the individual components. I like pictures. Nothing is worse than opening a new piece of gear and then having to read instructions resembling a publication from the Internal Revenue Service.
Location for New Computer
We determined we were going to put the new computer in the same general area as the old one. This obviously made it a little easier to run cables to monitors. We opted to use a wireless trackball mouse and a wireless keyboard with illuminated keys for use at night. This enabled us to eliminate a bunch of wires running to the navigation station desktop. We will keep the old USB keyboard and mouse as a backup. Also, the use of the wireless trackball mouse allows us to work our navigation software from anywhere we can see the monitors.
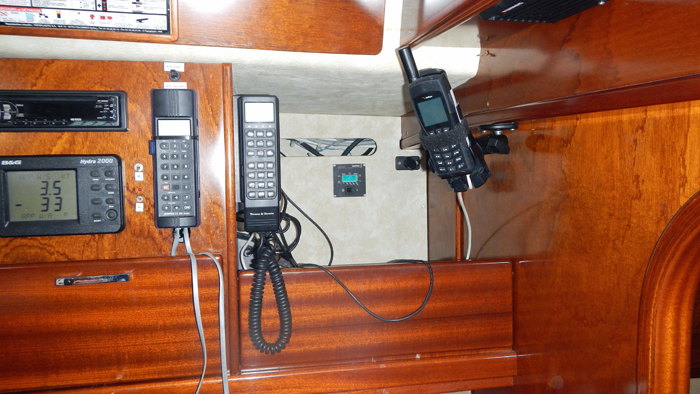
This All Has to Connect Somehow
So, I started with a big pile of stuff and slowly made a big pile of trash from all the packaging material. I first installed the Wi-Fi booster antenna on the back of our boat. We fished the cabling through to the navigation station in the mid-ship area. I know I have posted this before but it is worth repeating, Amel boats have hollow pipes or conduit running through the boat allowing us to pull cables or wiring through to certain areas of the vessel. On previous boats we owned, we would set aside the best part of a day to run wires. It would involve removing panels, drilling holes, scraping knuckles and a lot of cursing. What once take us a day took 10 minutes; thank you Henri Amel for this foresight.
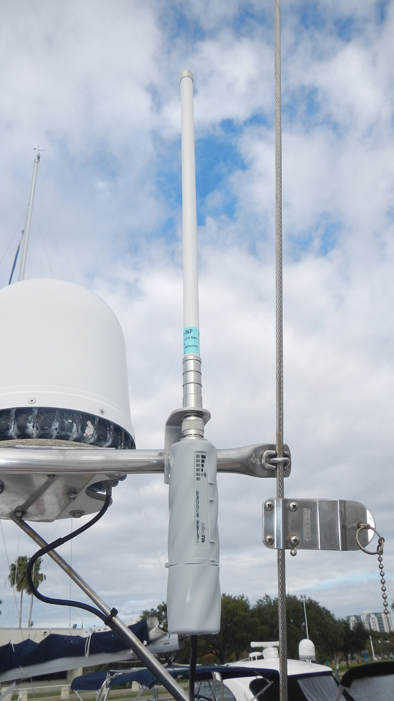
Installed Wi-Fi Antenna
On our last trip to Cream Puff, I made some cardboard templates for shelving to house the new set up. I found a source for African mahogany and put my woodworking skills to use. Once I finished building the selves and supports, we returned to Cream Puff to fit them. Perfect fit! I had planned to varnish the wood once I was certain the fit was correct. However, like any plan, it changed. Once I started to install the shelves, I had a better idea about a removable panel located behind the computer (this panel hides our wiring harness and allows access to the conduits). We need to maintain access to this area and even though our new shelves slide out, it was going to be a little tricky to get back in this area. This meant putting the installation on hold until I could fabricate a better solution. It will make more sense when you see Part II of this post.
After running all the necessary wires for the Wi-Fi and computer (and only one trip to the store), we fired up our new toys. Wow! It rocks! We are able to pick up Wi-Fi signals we did not know were there and were stunned by the speed of our PC. Next on the list: the installation of our new navigation software. The previously owner had sold us Nobeltec software with the boat. Over the past couple of years, I have come to appreciate the features and found it really easy to use. Easy is good. I decided to stay with the Nobeltec system and upgraded to their new TimeZero Trident. One of the really cool features allows us to download weather information and view the forecast along our planned route. Here is a short video demo of the software (if you are reading this on an RSS/email feed – click here to view):
Once the software was installed, I needed to connect the cabling for our AIS and Hydra sensor information (water depth, wind direction, wind speed, compass heading etc.). This is done via our NMEA 0183 network. Eureka! All works great.
The last step was to install the charts. Some came on DVDs with the software. Additional charts we purchased by downloading using our new lightning fast marina Wi-Fi via our new booster antennae. For about 12 hours, I became a bandwidth hog. We now have all new charts for the entire United States, Caribbean and Central America. This should be enough for a little while.
Next steps are to finish the cosmetics of the installation and tidy up. More pictures to follow soon in Part II.